Headlights are crucial for safe driving, especially at night or in adverse weather conditions. But what happens when your trusty beams of light start misbehaving, and instead of showing you the path ahead, they are more interested in inspecting the road? What causes your headlights to point down, and how can it be rectified?
A variety of factors could contribute to this situation. One common reason is the deterioration of the adjuster within the headlight assembly. Another potential cause could be an issue with the vehicle’s suspension. If your car is fitted with adaptive headlights, a glitch in the electronics can also be problematic, the list goes on. All of which is covered in this article.
Headlights Are Not High Enough [6 Potential Reasons]
Car headlights are like sunshine navigating through the dark. These eyes let you drive through the darkness and bad weather conditions. However, your safety could be in danger if they start pointing down at the road instead of illuminating the road ahead.
To fix these headlight issues, you need to be aware of potential reasons why the headlights are not high enough.
1. Internal breakdown of components
This is the most common cause of headlights pointing down. The headlight components are bound together with fragile joints and tuning screws. These plastic elements can grow weak, fracture, and come loose through age or the repetitive vibrations cars experience.
If you observe your headlights flickering or trembling, this could indicate a loose or damaged component inside the headlight.
2. Faulty suspension
Problems with the suspension are common, but noticing the headlights are pointing down because of is not. Generally, the car will be undrivable when the suspension causes the headlights to point at the floor. But damaged arms, leaking shock absorbers, or broken coil springs, specifically at the front, can cause the vehicle to point downwards and alter the aim of the headlights.
This is likely to be noticed in older cars or 4x4s, where the standard vehicle ride height is much higher. You may also hear clunking or knocking sounds from the suspension when turning or going over bumps, and the ride experience will be rough.
3. Cracked or damaged lens
In vintage cars, the headlight lens is sometimes made from glass which regulates the dispersion of light. Damage to the lens, like cracks or scuffs, can impact the light’s distribution pattern. This also leads to headlights pointing in all sorts of different directions.
Modern clear plastic lenses can also become discolored or scuffed, producing similar results. Another common issue with modern plastic headlight headlights is when they crack. They will fill with condensation, especially in the morning; the beam pattern bounces off the condensation, where it points in unusual directions, and the light dulls.
4. Malfunctioning headlight adjustment system
Some cars have adaptive headlights, i.e., they are built to adjust their position vertically to adapt to various conditions. They use several sensors to detect where the beam pattern should point, such as the ride height sensors.
There’s usually an option to control it manually via a knob on the dashboard, or it can be completely automatic in newer vehicles. However, this system can often fail to operate correctly through a sensor failure, leading to erratic movement of the light beams or causing them to point down constantly.
5. Unintentional height adjustment
I am pointing out the ability to adjust the position of the headlights on the dashboard. There are instances when drivers unintentionally alter the setting of their headlight leveling system. Usually, when cleaning the dashboard, they accidentally change the position of the knob so the headlights point downwards. And then, of course, don’t realize you can alter the angle of the headlights through a knob on the dashboard.
6. Incorrect headlight replacement
If you recently replaced your headlight bulbs, they point down. They could be installed correctly or may need to be a different type for your vehicle. Fitting the bulbs upside down is quite common. However, this usually causes the beam pattern to be too high and scattered. But fitting the incorrect bulb and ramming it into the bulb holder may be possible, but the light’s beam angle will never be correct.
How to align car headlights?
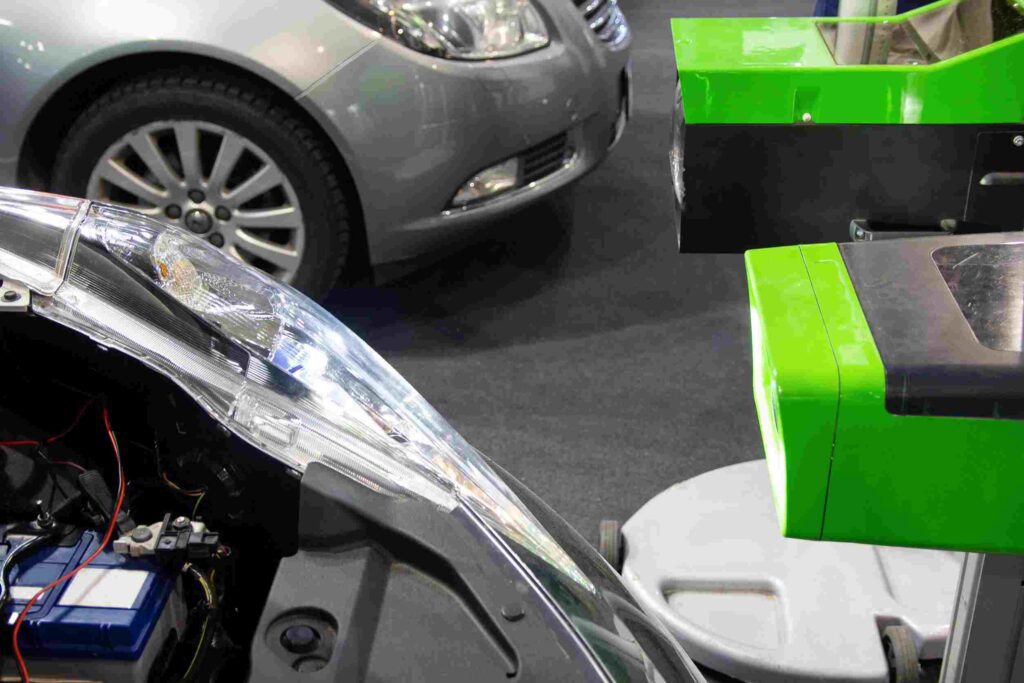
If you’ve checked the above and concluded you need to adjust the headlights, follow the steps below. Before you do, there is a specific headlight alignment machine that some garages will have that makes adjusting lights a 2-minute job. However it is possible to get it perfect at home, but it needs to be dark outside to get it right, and it might take you 20 minutes or more to get it perfect.
Tools youWillneed:
Before you begin, make sure you have the following tools:
- Masking Tape
- Measuring Tape
- The correct tool for the headlight adjuster is usually an Allen key.
- A wall car park with 25 ft. of working space.
- Spirit level (if required)
Step 1: Prep and park the car
Before you start, remove any unnecessary weight from the car, and ensure the tire pressures are correct. A semi-flat tire will ruin all of this work when you pump the tire back up later.
Search for a flat area, even ground, park your car and turn your headlights onto a garage door or an even wall. Position your vehicle as close as you can while facing the wall. If your car has a headlight adjustment knob on the dashboard, ensure it is set to 0.
Step 2: Take measurements
With just the headlights on. Now, against the bright spot of the right headlight, create a plus sign with masking tape. Use the spirit level if needed to ensure the horizontal and vertical lines are straight.
Repeat the same procedure for the left headlight. At this point, both headlights’ central points (plus sign) should be on the same horizontal line. You can join the two center spots to see if it makes a straight line.
If they aren’t, re-mark your tape measurements so that they match and the horizontal line is no more than 3.5 feet from the ground.
Step 3: move your vehicle
Move your car 25 feet or 7.6 meters back from the wall. You need to be very precise with that; use the measuring tape.
Once the vehicle has traveled back, check how the central spots and headlights differ in position.
Step 4: Make the adjustment
Open the hood and locate the headlight adjustment screws. Their position varies based on the vehicle model; some are right there, whereas others require trim removal to get to them. It can be tricky to differentiate between the two different headlights when making the adjustments, so you might need to cover the light you’re not adjusting with a towel or something.
To adjust the alignment:
- Locate the vertical adjustment screws. Yes, there are usually two screws.
- Grab the necessary tool and gradually rotate them clockwise to elevate the beam or counter-clockwise to decrease the beam height.
- Ensure that during this process, the headlight beam aligns with the horizontal line you’ve marked previously.
Adjust the other screw to point the headlight beam inward or outward for the horizontal adjustment. The horizontal pattern needs to hit just to the right (this will be to the left if you drive on the left-hand side of the road) of the vertical lines you made on the wall.
Step 5: Adjust the other headlight
Repeat the same adjustment for the other light; you’ll probably need to cover the headlight you’ve just adjusted.
Step 6: Go for a drive
Make sure to point back any trim you removed to get to the adjuster and properly close the hood. Now go for a quick road test to ensure they are pointing as they should and the road is well light. You shouldn’t need to readjust the headlights again unless you made an error and the beam pattern is crazy.
FAQs
How to tell if my headlights need adjustment?
If oncoming drivers frequently flash their headlights at you, it could be a sign that your headlights are too high and blinding them. Or, if you can’t see more than 20 yards down the road, it could be a sign the headlights are pointing too low.
How high should the headlights be?
The headlights need to be adjusted based on marked center lines. These centers should be at most 3.5 feet (1.1 meters) from the ground.
Final Words
Driving with misaligned headlights that point downward isn’t just a pain because you can’t see far ahead; it can also be a safety hazard as it limits visibility and distracts other drivers.
Understanding the potential causes, as I’ve covered in this article, will allow you to take the correct cause of action. Whether that’s a quick DIY fix to the headlight alignment or scheduling an appointment with a mechanic to repair it. Getting the headlights pointing correctly is extremely important, and you should avoid driving in the dark or adverse weather conditions until rectified.